Here's where we hit a snag. I extended the kickup of the rear footwell all the way across. As originally built, the kickup tapers down from the seat riser until it is flush with our new piece by the time it is out to the rocker area. My original floor was so rust damaged that there was no way to be exactly sure of the contours, so I made the decision to not extend the kickup.
I started by modifying the front edge of the center body brace

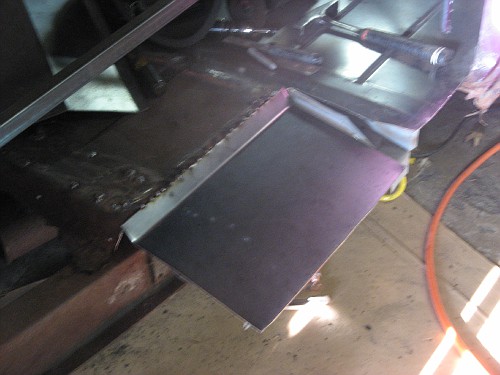
Then, I sliced the kickup, and flattened it down. I had to add a filler piece at the front, and a triangular filler piece at the side. Here, you see it all tacked up.
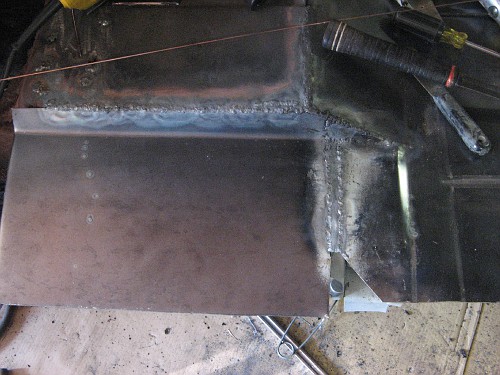
All welded up
And smoothed out.
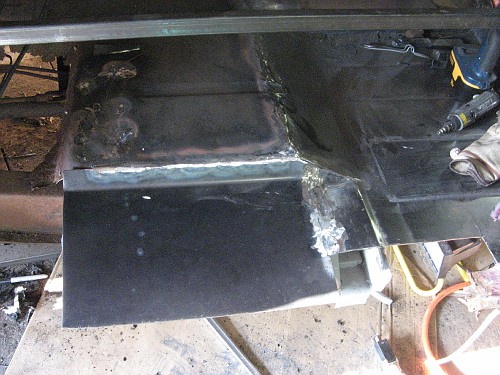
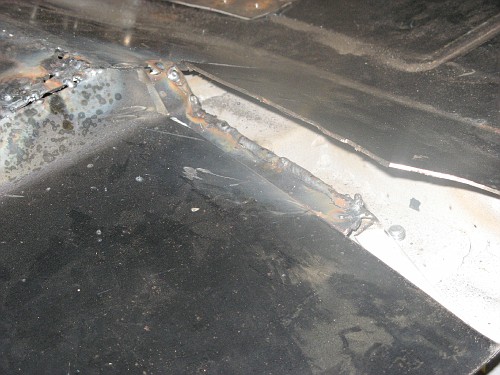
And finally, I cut out a rectangular section. We had the triangualar gap before, and this edge didn't transiton well with the floor behind the door post. By cutting out this whole area, I can add in a section that will solve both of these issues.
"Both of these issues." Yes, I create a new issue for myself every so often. Three things cause this: One- The car was rusted so badly that it is impossible in some laces to see exactly what was originally there. Two- my insistence on making the new floor myself, rather than buying replacement panels. Three- the fact that this car will be a custom, and I am altering things here and there to suit my final vision. No time for snivelling, just figure out the soution and apply it!
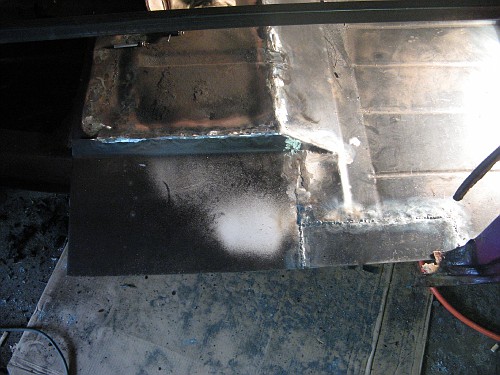
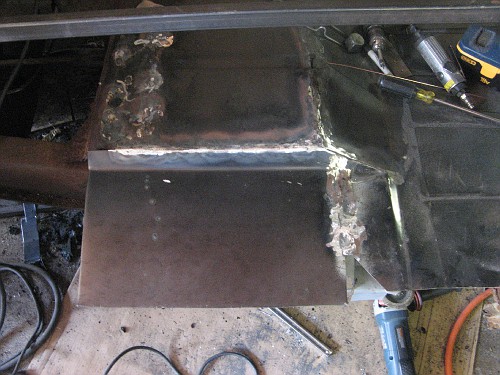
I had to alter the center body brace a bit more (of course), but was able to get the gap filled, with the transition I was looking for.
For those of you who know these cars, you have probably noted that my variations away from stock on the seat riser area will cause issues when it comes time to bolt the front seat back in. You're right. However, I have planned all along to alter the front seat mounting. I plan to get the seat to sit an inch or two lower, to regain a bit of the headroom I'm going to lose when I chop the car.
Next step: replace the front footwell.
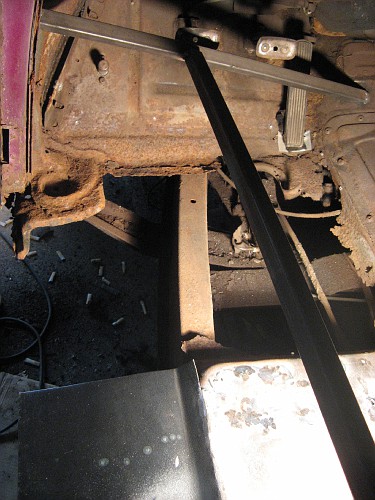
As you can see- there's not a lot (read: NOTHING) to go from. Whee! I'll start by replicating the cowl braces (center left in picture), then bend and bead up the new footwell. Once that is done, I'll actually move on to replacing some exterior sheetmetal on the driver's side. Then, repeat the whole process on the other side of the car. At that point, we'll finally be able to remove the body from the frame!
For those of you who follow, I'll be taking you along for the ride.
No comments:
Post a Comment