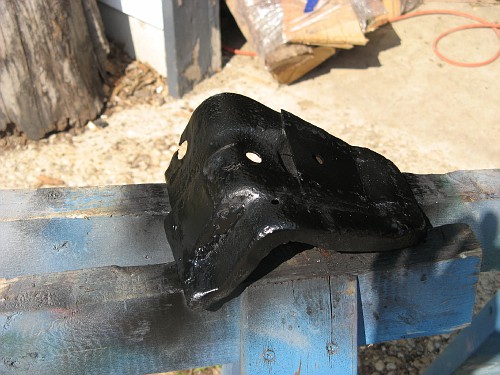
Step one is to remove the upper and lower cowl braces. The lower wasn't too bad, and I was able to repair it
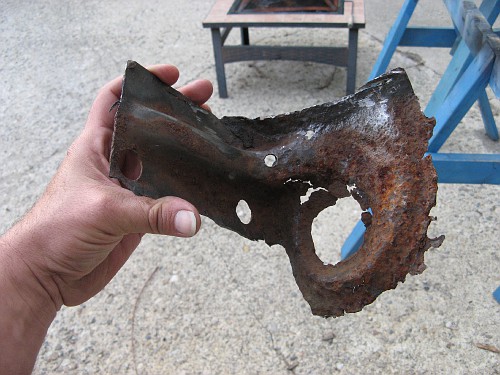
The upper brace, on the other hand...
We have two options with this upper brace. One option would be to spend about 70 bucks and buy a reproduction piece. Option two is to fabricate a new one myself.
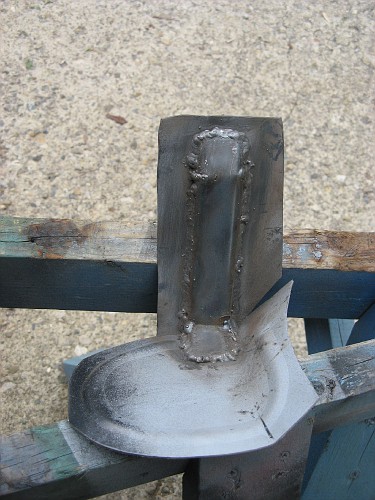
The decision took less than a second. The fabrication took about an hour. Like everything else on the bottom of the car, it isn't an exact replica of the factory piece, but it will give us the strength we need, in the place where it is needed. And, by making them, there's another $150.00 we can spend elsewhere on the car.
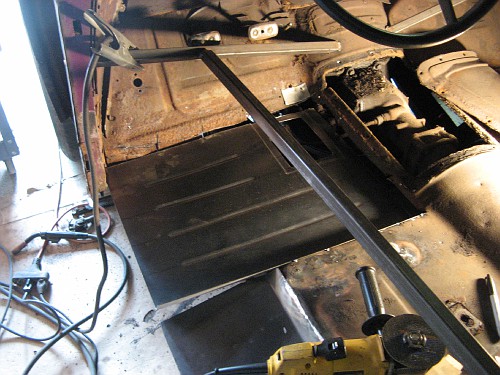
For the footwell, I cut it to size, then bent up the rear to make a new front for the seat riser, and also bent a kick up at the front to replace the bad area of the toeboard. I then marked out a new access hole for the master cylinder. Since I plan to go to a dual reservior master cylinder, I made the access hole a lot larger than the original small hole.
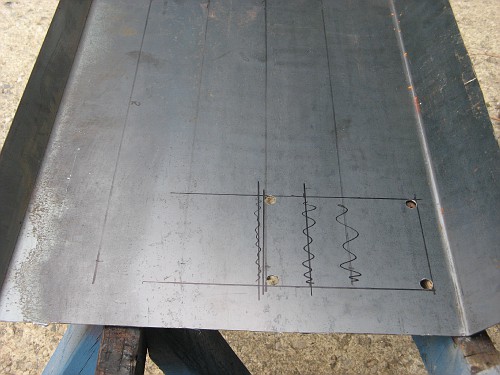
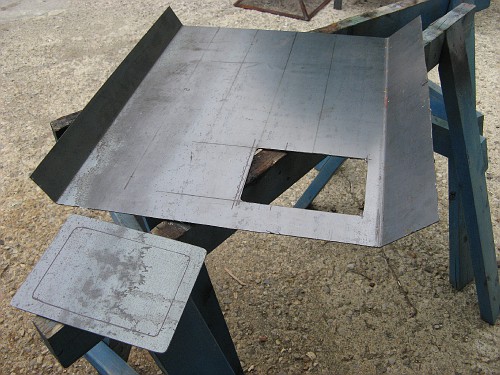
Once the new access hole was cut, I realized that I couldn't get the footwell into the bead roller with the toeboard kickup in it, so I cut the toeboard kickup off, and will make it as a separate piece.
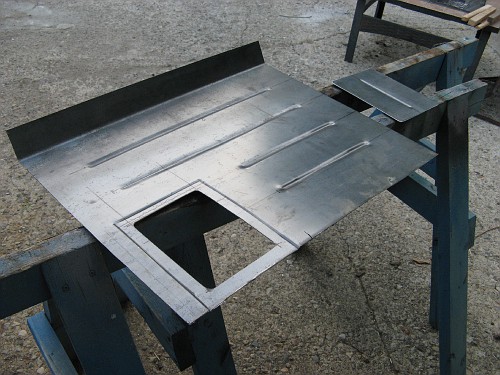
Here, we've flanged the area around the access hole so the cover will sit flush, and also have rolled some strengthening ribs in the footwell area. Now, it's time to move to the car.
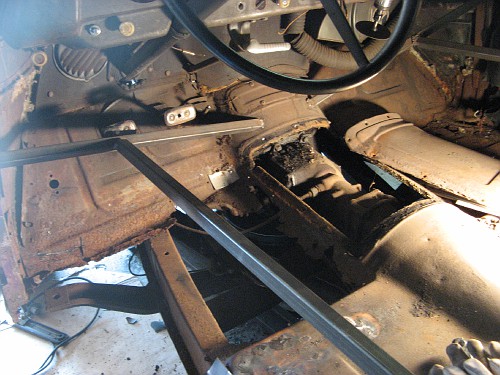
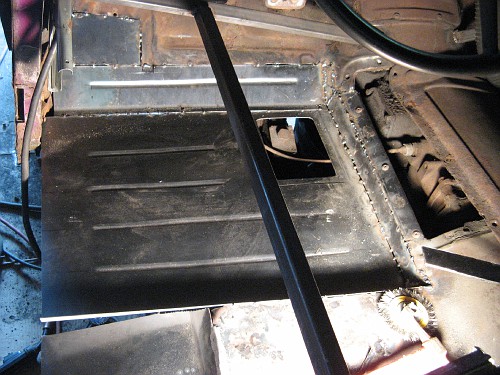
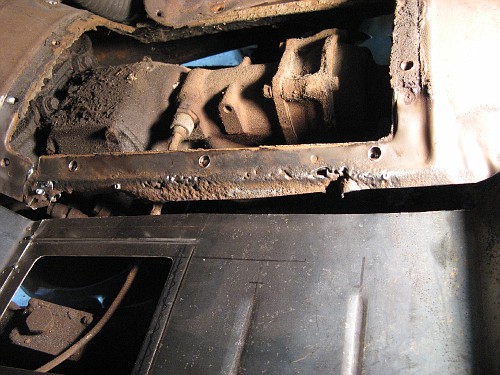
I removed the transmission access cover, since the floorboard was rotten right up to the flange for the cover.
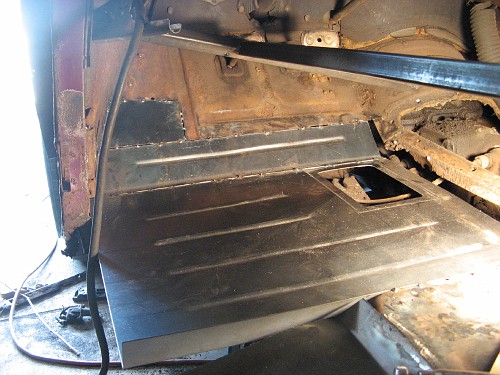
Started tacking it in at the seat riser.
Hey!!! We had our big May swap meet last weekend!! Went both Friday and Saturday. Friday has a better selection, but Saturday (especially near the end of the swap) the prices get good!!!

Here's the score of parts for the weekend! In this picture, we have a glove box door and clock housing for a '51 Chevy. Those two pieces and the interesting sill plates that I may or may not use cost me a whopping ten bucks. There's a pair of '39 Dodge taillights that I have no idea if I will ever use, but for 12 bucks, I wasn't leaving them there. The hood bird is a rechromed '51 Chevy piece. It's not perfect, but it's VERY close, and it was only ten bucks. At the top is my best score- the Offenhauser dual carb intake for the 235 that will go into the car. These retail for about $250.00. I picked this one up for $150.00. Remember the 150 I spoke of saving when I made my own upper cowl braces? Kinda makes this intake sort of free, doesn't it?
Memorial Day weekend. Kind of a big car weekend here in Indianapolis, and it's not lost on me. Saturday was a busy garage day.

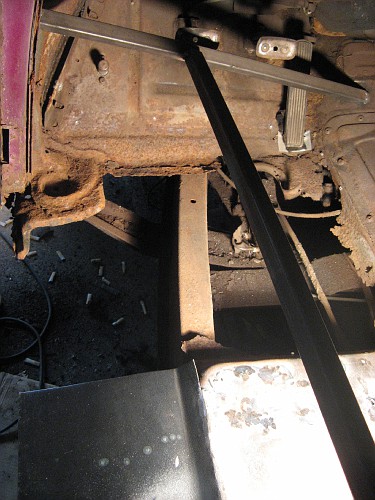
Cut back the toeboard to good metal

And tacked in a replacement section. Well, the area around the hole for the dimmer switch is a bit weak, too.
So we'll cut a patch and tack it in there.
Next on the hit list is the inner vertical section and the flange for the transmission access cover. You can see that it was rotted all the way up.

First, the flange. Hard to see in the picture, but I rolled a slight ridge at the bottom of the flange to match the original.