I can't decide what is best for anyone, but I shared from my experiences of making the rear and center braces. The aftermarket parts are outstanding in quality, but they are pricey. At $75.00 each, with each car using six, you're looking at $500.00 by the time you add shipping, if your car needs all six (and you KNOW mine does) Well, the decision was easy for my shoestring budget.
Last weekend, I made the two front body braces for my car. This post is going to go through how I did it, step by step. Maybe it's a tutorial, maybe it's just a "here's how I did it." It's not the only way to make them, and it may or may not be the best way to make them. What is undisputable, is that it's an effective way to make them.
For those who want to see a lot of general progress on the car- go ahead and skip reading the rest of this post. The car isn't even in any of the pictures- just the parts I'm making for it. This post is just going to show the process of fabricating $150.00 worth of parts using about $15.00 worth of metal, electricity and welding supplies.
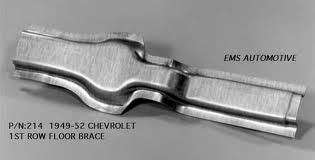
Here is a picture of the replacement part, as available from EMS Automotive. EMS parts aren't cheap, but the value for the dollar is excellent. I've bought some external sheetmetal for the car that was made by them and I've been VERY satisfied with the quality. Spendy, but absolutely worth it.
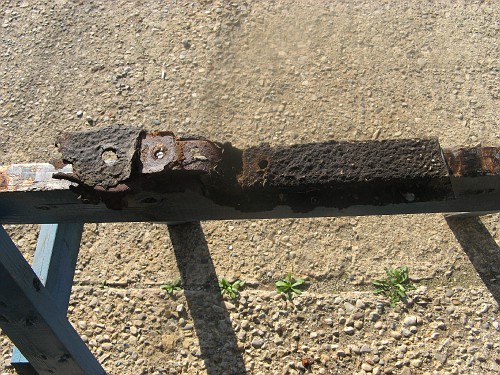
Here's the one I pulled from the drivers side of my car. Notice that there is over an inch missing from the left side. Mother Nature certainly thought my car was tasty.
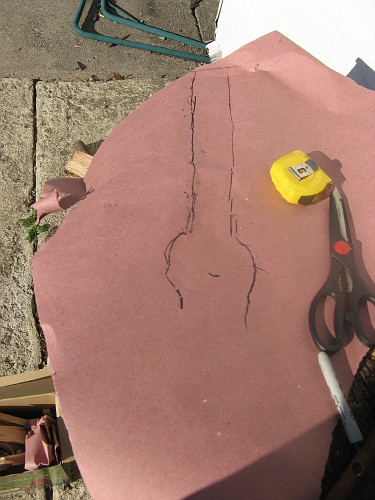
I started by tracing out the top of what is left of my brace onto heavy paper. Then, from taking some measurements and looking at the picture of the replacement brace, came up with an estimate of what the missing section looked like
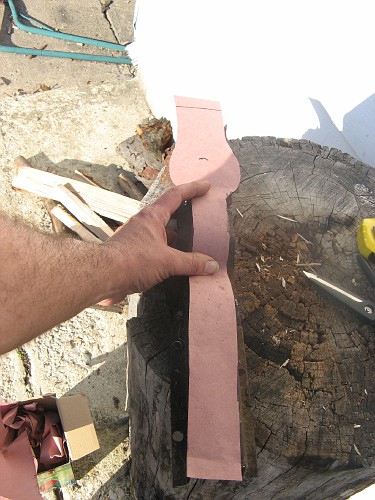
When I had drawn it out, I cut out the pattern. Here, I've rested it on the old brace to make sure it matches up.
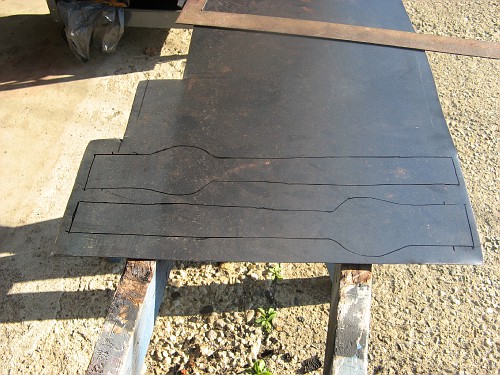
I trace the pattern on to a piece of 16 ga. The braces are the same from right to left side, so I'm actually making two identical parts, not mirror images. It isn't on the replacement part, but I left enough metal to bend up a flange, in case I need it.
Cut out the pieces, and bent up the flange in my brake.

Here, I've added the slight kink just before it flares out into the large section. I've also bent the rounded offset, using the round handle on my tool cart. (Hey- use what works!)
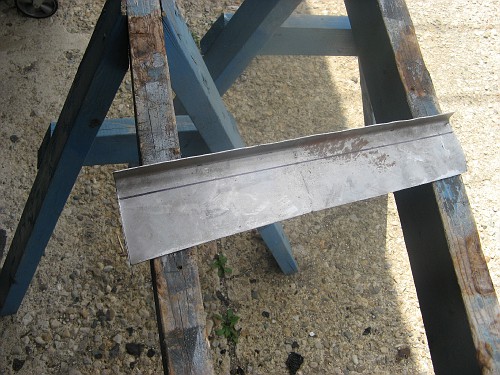
I measured in 1/2" and put a 90 degree bend. I measured 3/4" from that and marked a line, then cut it with my unishear. The 3/4" is the height of the brace, and the 1/2" is the flange that we'll use to weld it to the floorboard.
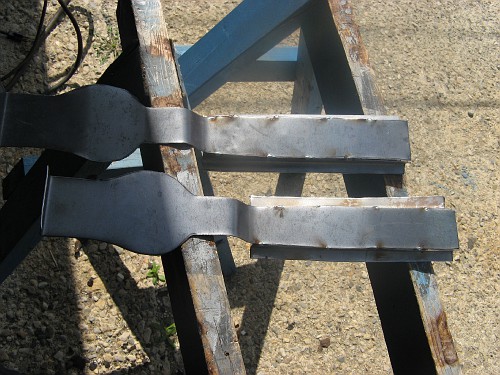
Here, I've tacked the 3/4" X 1/2" to the sides of the main section. Just a few tacks with the MIG for now. We'll get it all tacked up before we finish weld.
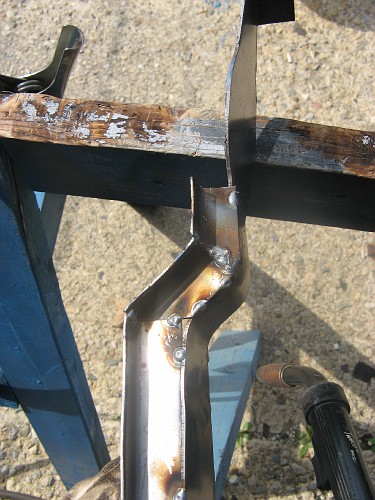
Using a die grinder, I've cut small sections and tacked them in to form the offset.
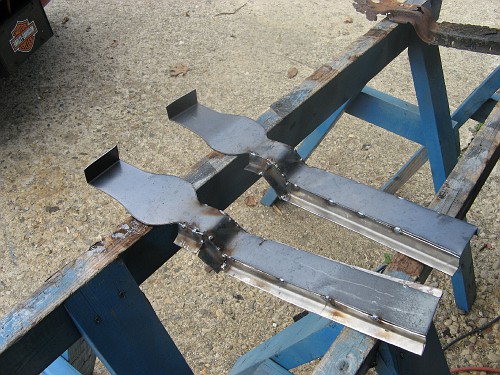
The offsets finished on both sides of both pieces
To get from the offset to the end of the brace, I used one piece. I tacked it at the end of the offset, then bent a little, tacked a little until I got to the end. As you can see, I had to cut slots to relieve the flange so it would bend around the curve. Now that they're all roughed out, it's time to put away the MIG and get out the torch to finish weld them.
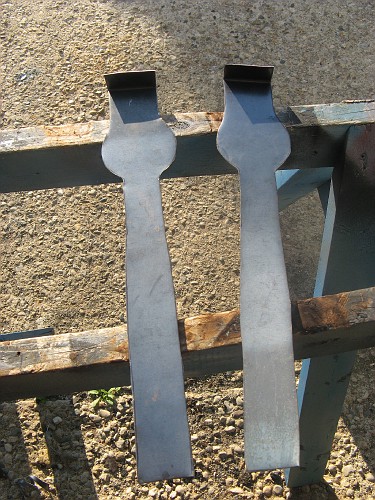
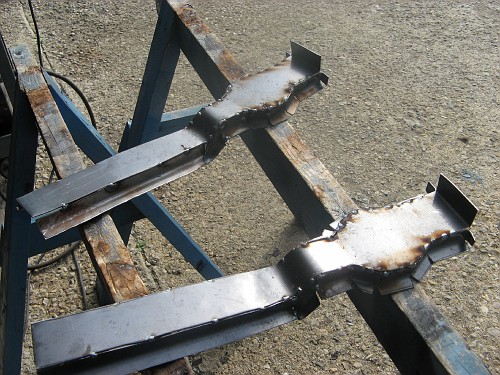
Here they are with the seams welded up. Notice that I left the last inch or so of the seam unwelded at both ends. This is to allow me a bit of room for fudging the fit when I install them. I'll finish up the last bit nonce they're installed.
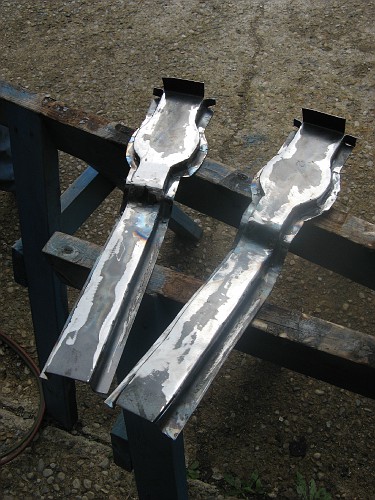
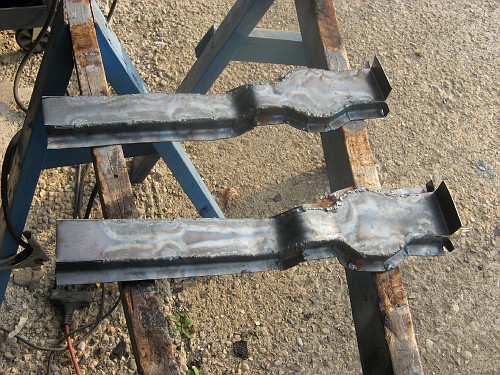
Here, I've smoothed out the welds, roughing them with a grinder and finishing with a flap wheel. At this time, I hold them up to the light and examine all the seams, looking for any holes that need to be touched up with more welding.
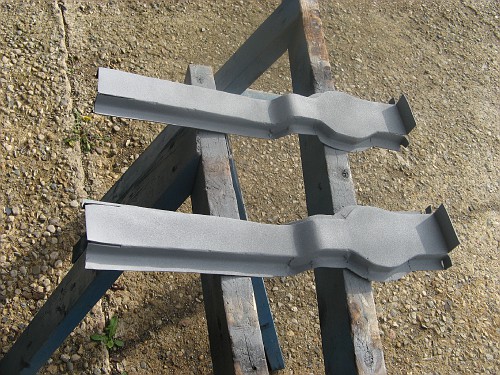
Here they are with a coat of weld-through primer drying, ready to install.
So, that's how I make them. I don't pretend to say that making them is preferrable to buying them for everyone. There are pros and cons to both methods. If you buy them, you get a high-quality piece that is almost indiscernible from the factory piece, and you don't invest a lot of time making them. You're also out the better part of two Benjamins after you pay shipping. If you make them, you get strong, solid pieces that will look good under a coat of undercoating, but would not pass for factory pieces to a trained eye. You invest less than a twenty for parts, but you do kick in some time.
Tools used: Unishear, die grinder with cutoff wheel, 4.5" grinders (one with grinding wheel, one with flap wheel), bending brake, hammers, dollies, MIG welder and oxy-acetylene welding rig.
In the end, which way is best for a particular builder depends on several factors: tools available, skill level, ambition, available time, and available cash. This has been the "shoestring" way of getting there.